


Creating the most swagged out edited custom shoes for your MyPLAYER on NBA 2k20 is a must and I have a quick walkthrough to get those custom shoe ideas on your 2K20 MyPLAYER. Check out how to get started below.
A quick note on what editing custom your shoe in NBA 2K20 is!
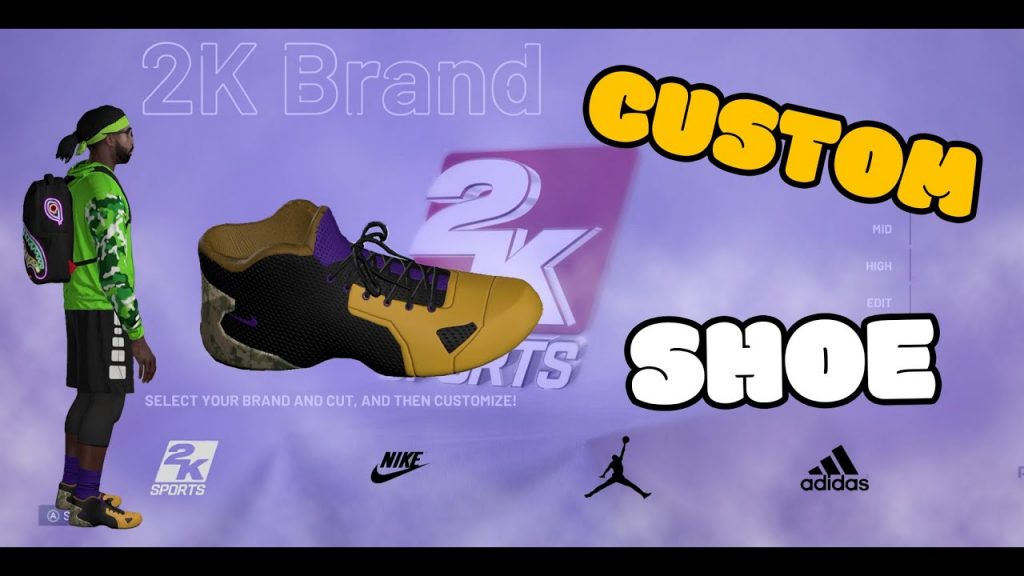
NBA 2K20 allows ballers and hoopers to edit custom shoes for their MyPLAYER to wear online. This means that if you have a crazy idea for a shoe design that you have been wanting to show off in front of your friends, then this is the perfect feature for you. Creating and customizing your own MyPLAYER shoe is easy to do but it does come at a cost. So before you get to happy and start editing a custom shoe, make sure you have a little cash in your pockets so you are not disappointed by the time you get to the end of this guide. When I say cash, I mean “VC”, NBA 2K20’s form of virtual currency. With that being said, let us get started on this quick walkthrough on how to edit custom shoes on NBA 2K20.
Follow These Quick Steps
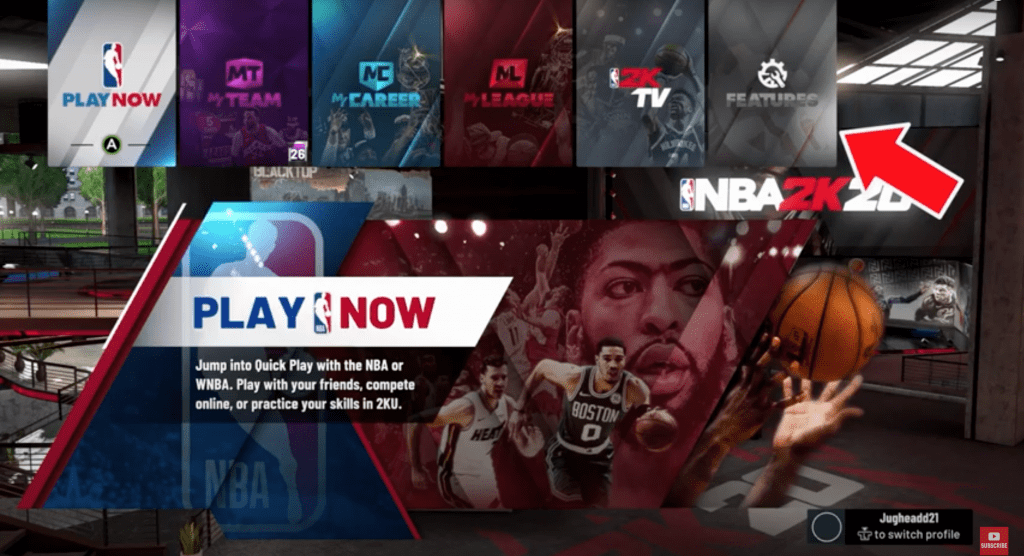
- Before loading into your MyCAREER account, scroll to and select the FEATURES menu option.

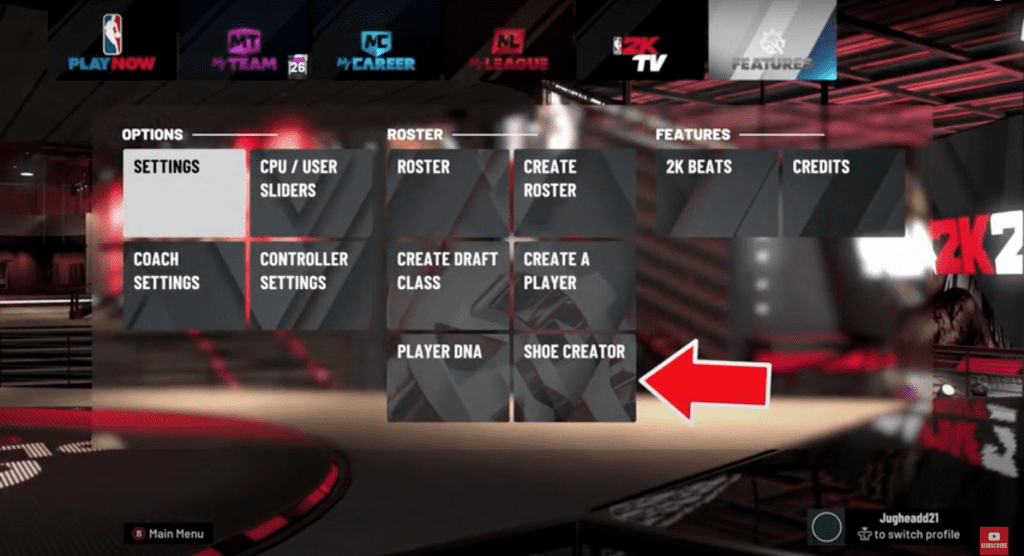
- Once in the FEATURES menu, select the SHOE CREATOR option.
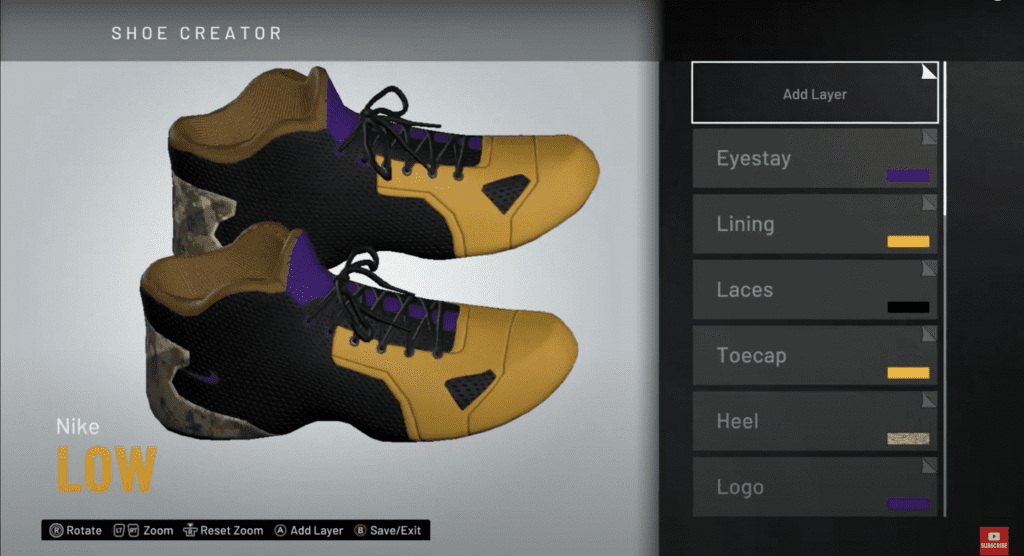
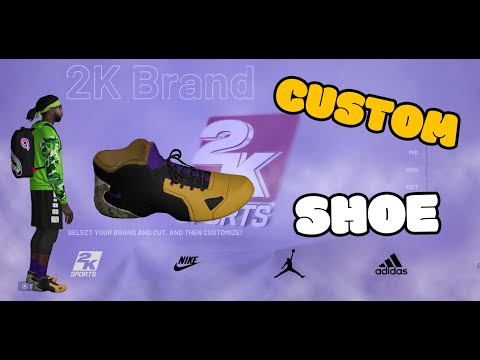
- When you enter the SHOE CREATOR menu, you will be given a choice to select your brand and cut.
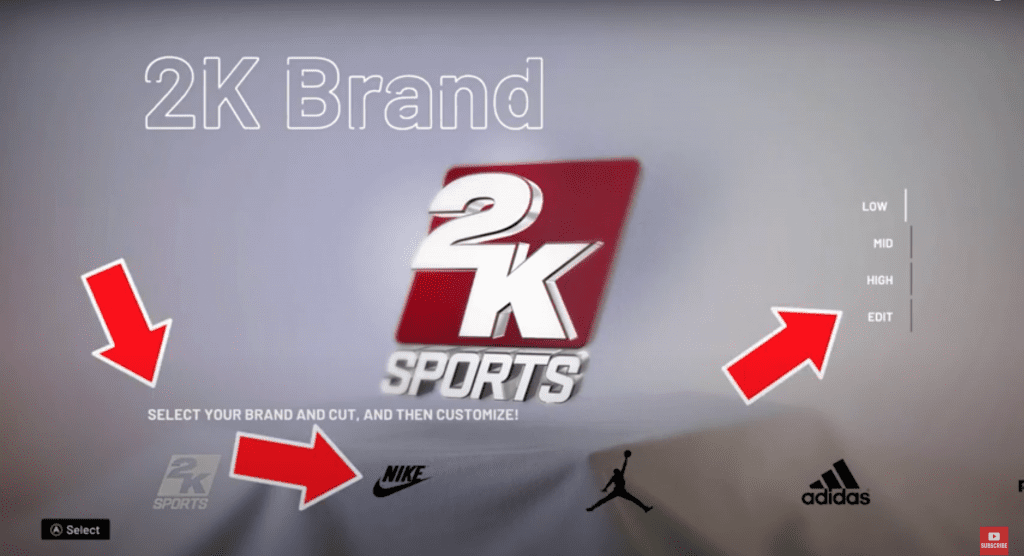
- After making your selections, you will be able to finish editing your custom shoe.
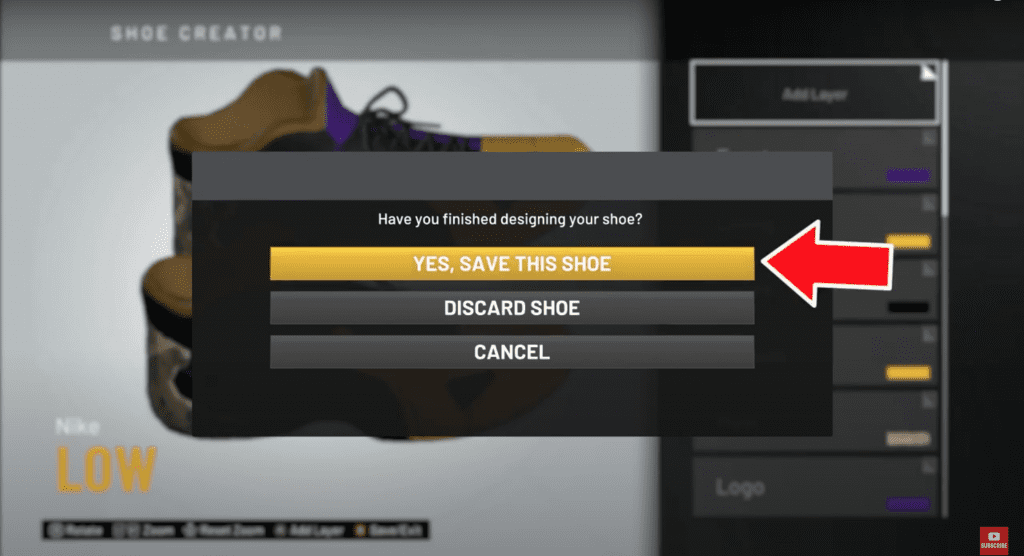
- If you are satisfied with your design, make sure to save.
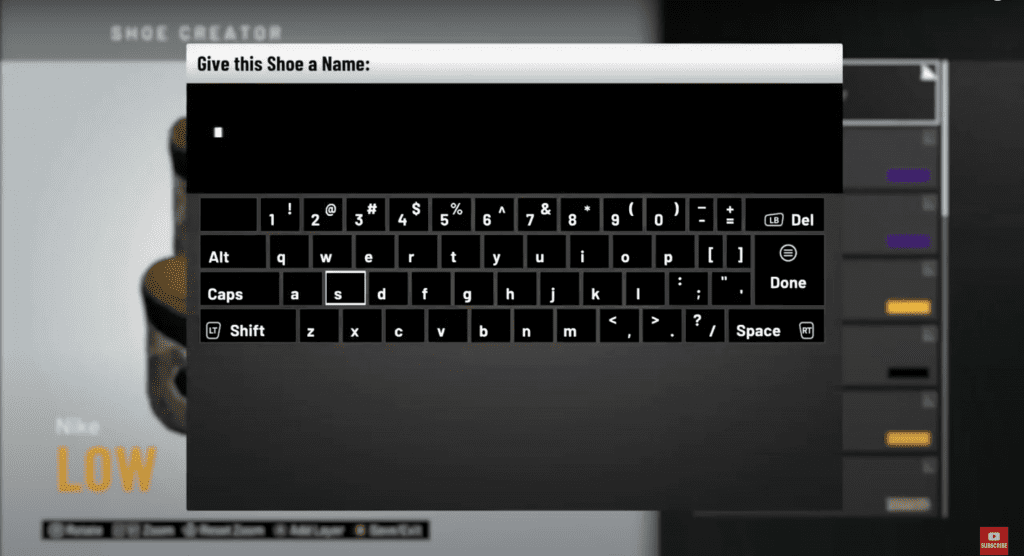
- You will be asked to create a name for your new custom shoe.
- Once you save your shoe, you will receive a message letting know that you are able to purchase your new custom shoe from 2K Shoes for your MyPLAYER.
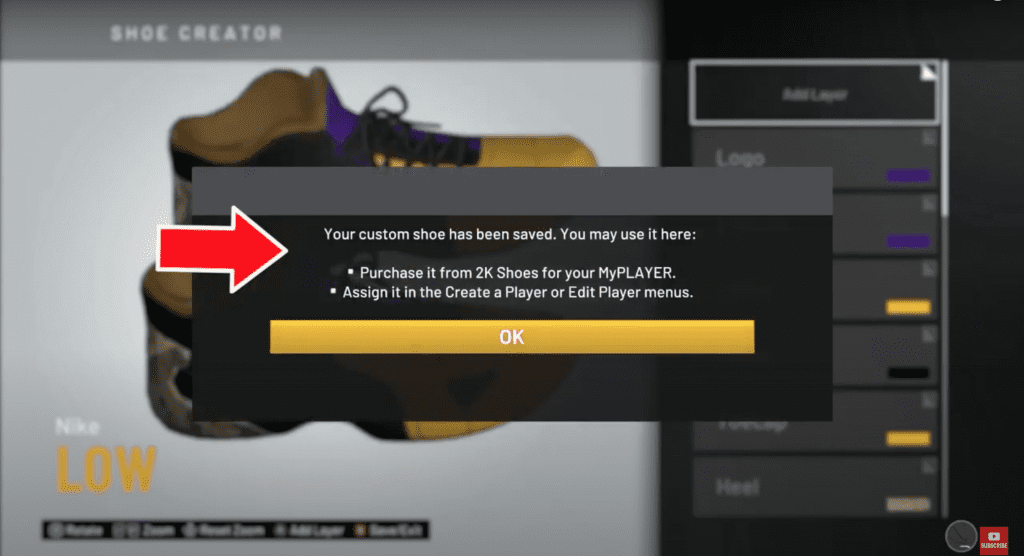
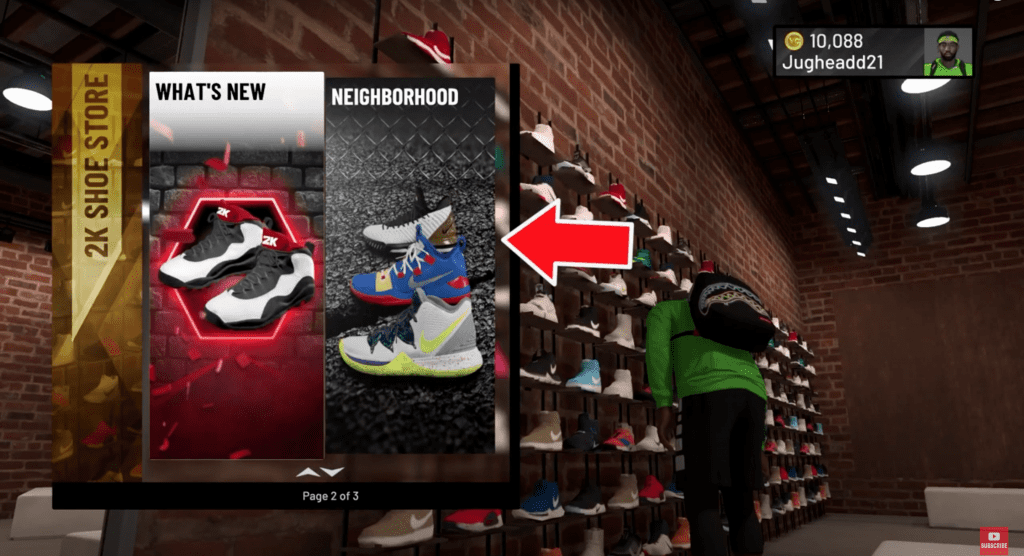
- After selecting “OK” load into your MyCAREER and make your way to the 2K Shoes store.
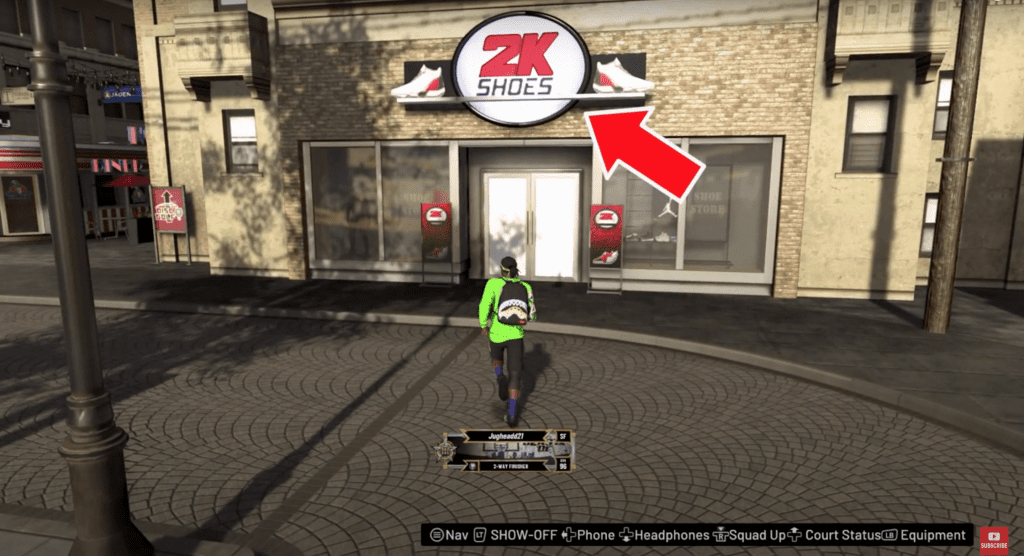
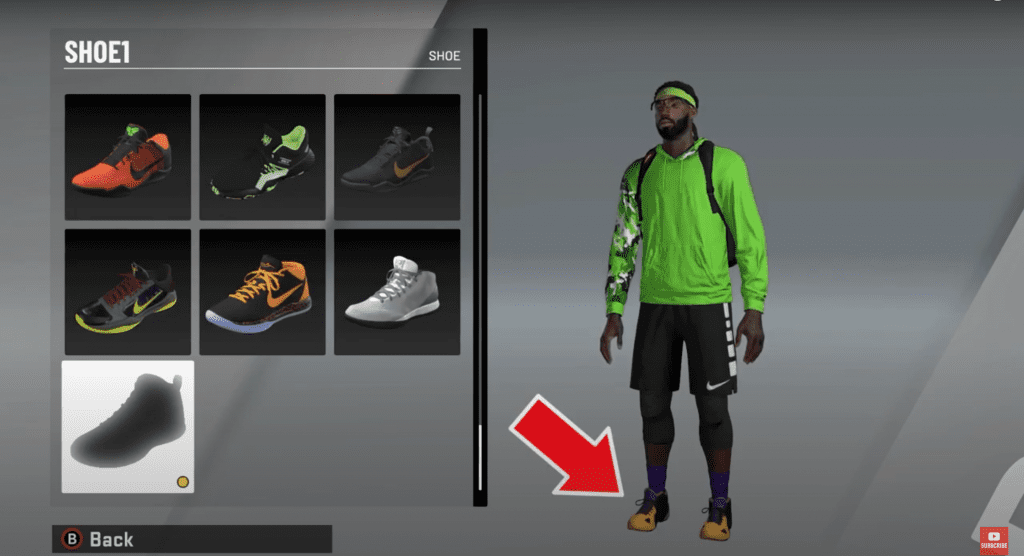
- Find your custom shoe in the store. As a tip, scroll to the bottom of the shoe menu and see if it is there. It should be a grey shoe shape option.
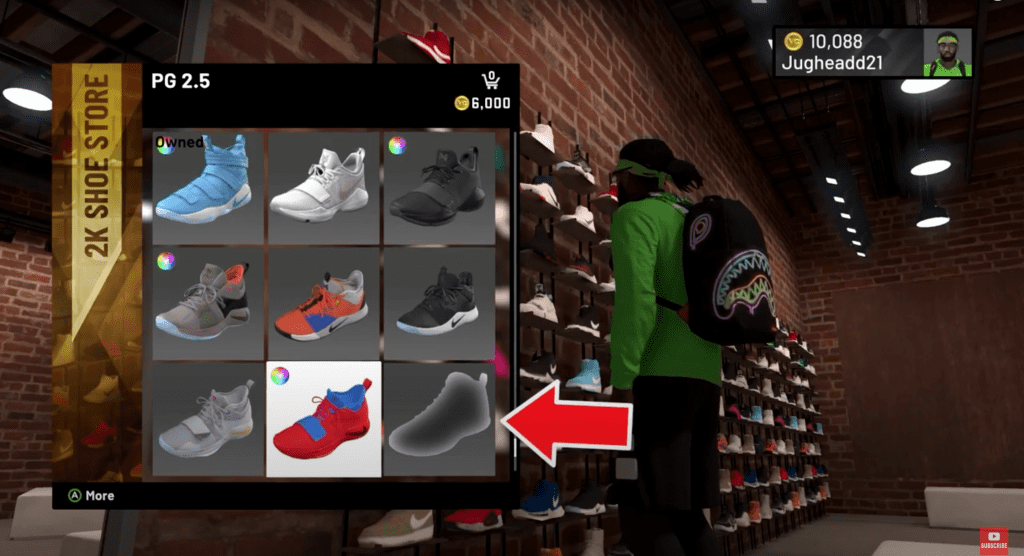
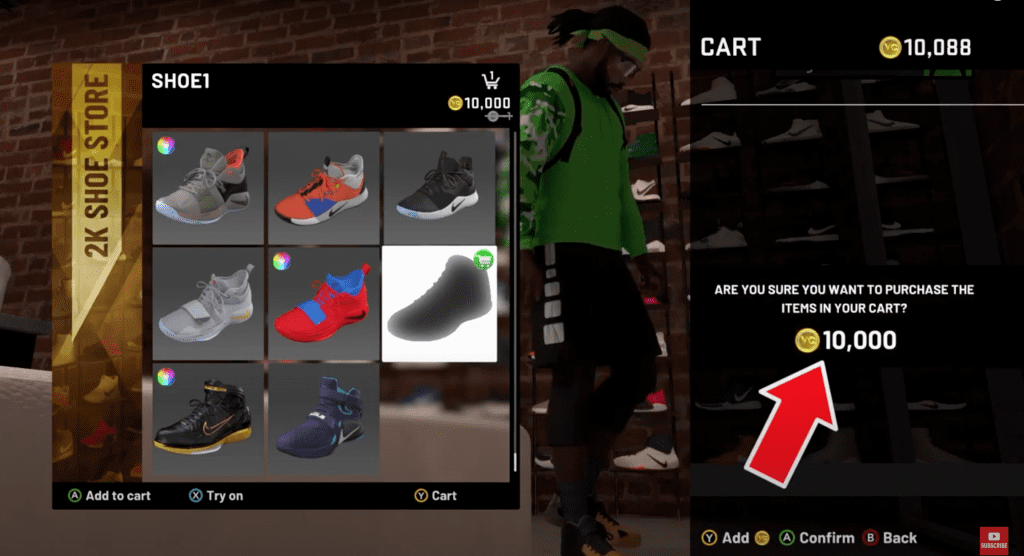
- Select and purchase your shoe. This is the part that was warned about earlier. Hopefully, you have saved up some VC because the shoe is not free.
Equipping your custom shoe
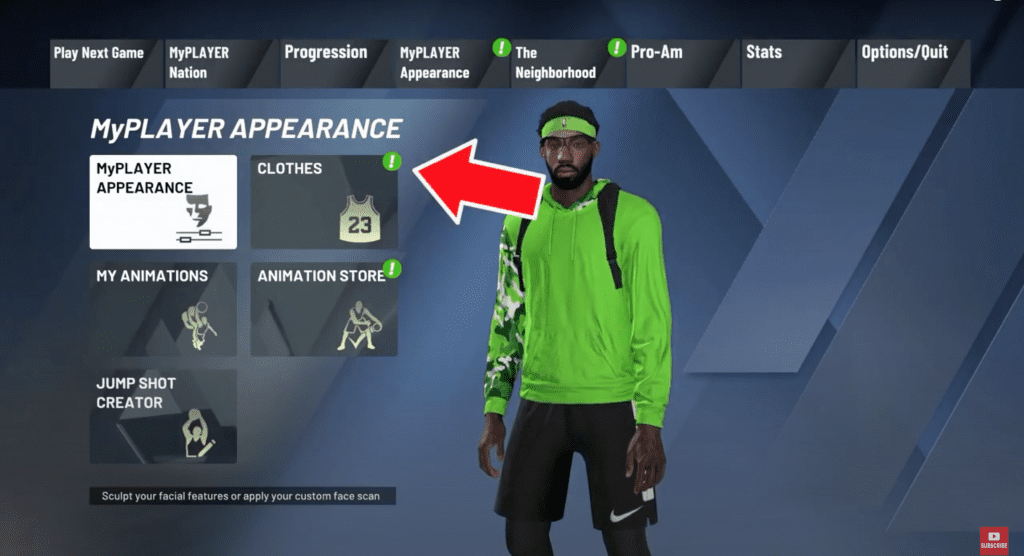
- After making your purchase, enter the MyPLAYER menu and select the MyPLAYER Appearance option.

- In the MyPLAYER APPEARANCE menu, select and enter the CLOTHES menu. There should be a green icon exclamation icon indicating that there is a new item available.
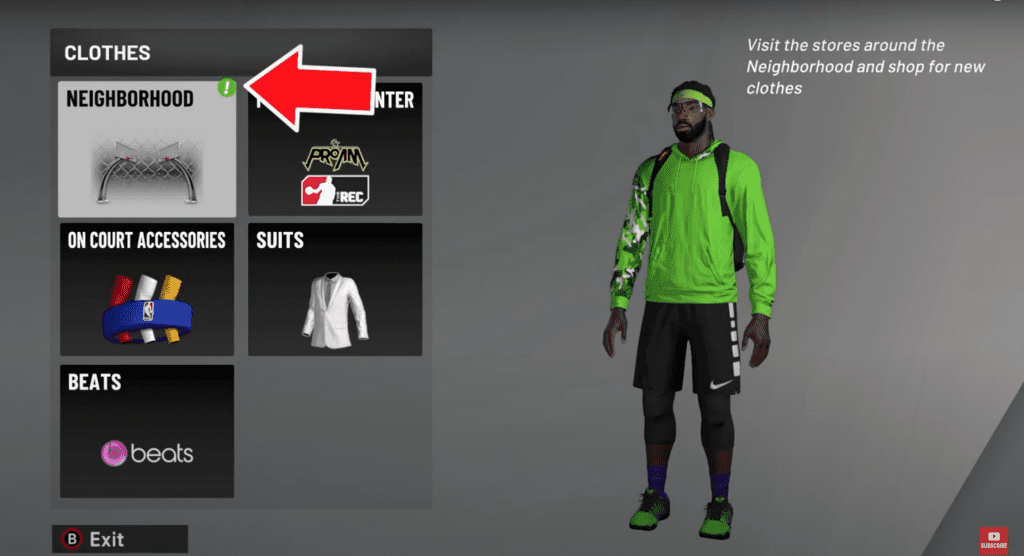
- Enter the NEIGHBORHOOD menu.
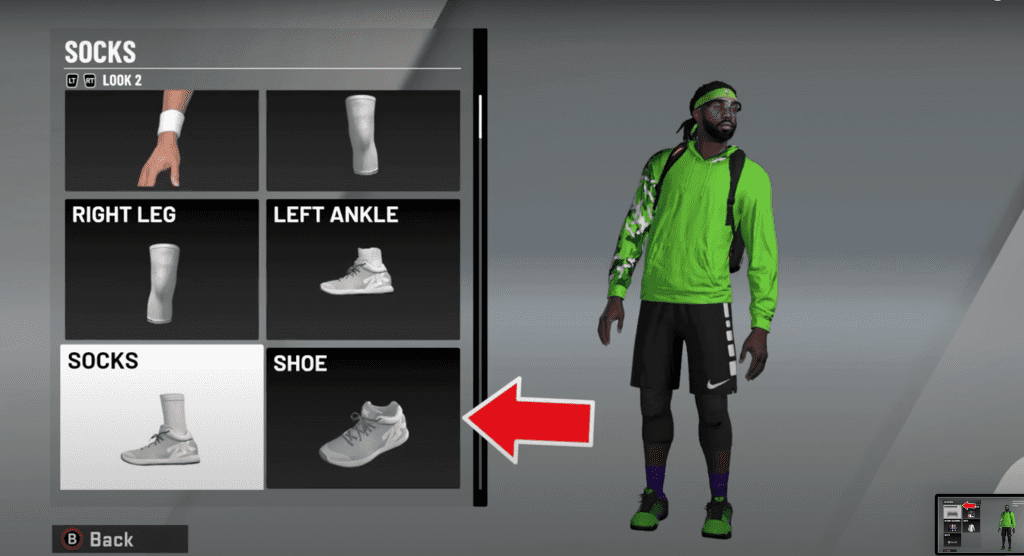
- Select the SHOE option.
- Scroll until you find your edited shoe that is represented by a gray outline of a shoe.
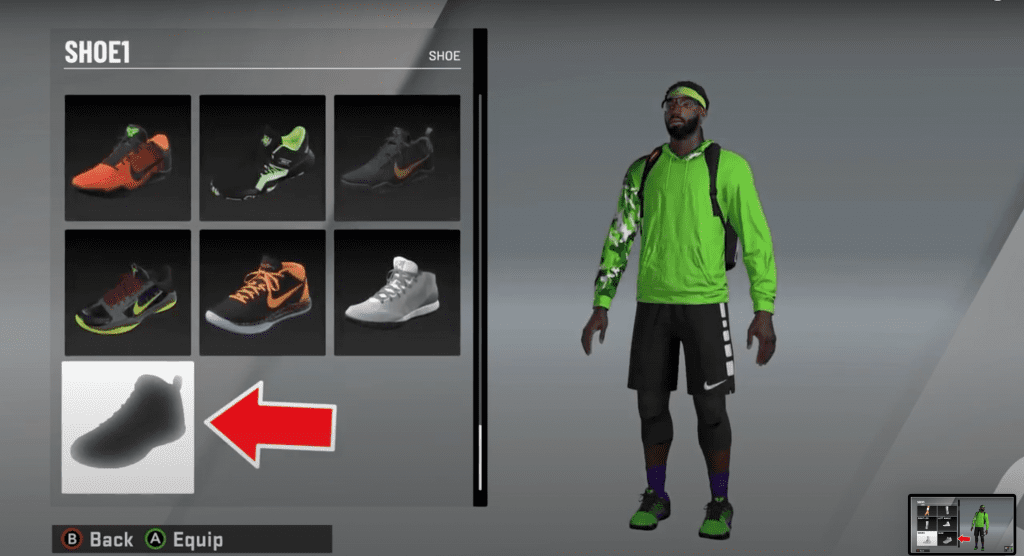
- Equip your shoe.
Check out the full video walkthrough here!
That’s it! Check out the full video below!
Want to see more NBA 2K20 how-to guides? Check out these articles!
- HOW TO GET AND USE LOCKER CODES ON NBA 2K20
- How to Quick Equip Accessories & Outfits on NBA 2K20
- How to Use the Skateboard in NBA 2K20
- How to Change MyCareer Difficulty Settings In NBA 2K20
- MyCourt in NBA 2K20 – How to Find and Customize
Need some NBA 2K20 VC to advance your player?! Check out deals on Amazon.com for digital codes:

Check out our contact page and let us know what we can do better! Contact us